Disclaimer
The epoxy sleeving process discussed in this blog post is intended for informational purposes only and should be performed by experienced gunsmiths familiar with advanced firearm customization techniques. Modifying firearms can be dangerous if not done properly, and Redleg Company assumes no liability for any damages, injuries, or malfunctions that may result from attempting this process.
Proceed with Caution: Any modifications to a firearm, including epoxy sleeving, should be carried out with care. Always ensure that the firearm is unloaded and safe to handle before starting. If you are unsure or inexperienced with epoxy applications, firearm disassembly, or reassembly, it is highly recommended that you seek the services of a professional gunsmith. Improper modifications can lead to damage, malfunctions, or even serious injury.
Limitation of Liability: Redleg Company is not responsible for the improper execution of this process, misuse of tools or materials, or failure to adhere to safety standards. By attempting this process, you agree to assume all risks associated with the modification of your firearm. Redleg Company is not liable for any loss, damage, or injury, whether to property or persons, as a result of using the techniques or information presented here.
Compliance with Laws: Before modifying any firearm, ensure that your actions are in full compliance with all local, state, and federal laws. Redleg Company makes no guarantee regarding the legality or safety of the epoxy sleeving process for any specific application.
By following the steps described in this blog post, you acknowledge and accept full responsibility for the outcome of your work. Redleg Company provides this information "as-is" with no warranty or guarantee of success.
At Redleg Company, we take pride in building bolt-action rifles with tight tolerances for maximum accuracy. One of the specialized techniques we use is epoxy sleeving, which ensures a perfect fit between the bolt and receiver. This process improves accuracy but requires meticulous attention to detail to ensure the bolt operates smoothly after the epoxy cures.
Tools Needed
Accra glass liquid epoxy
Wax
Cotton swabs
Pipe cleaner
Micrometer or caliper
Vise
Dial indicator and magnetic base
Masking tape
Toothpicks
Sandpaper (180-220 grit) or sandblaster (150 grit aluminum oxide)
Tools to disassemble the bolt and remove the trigger
Step 1: Measuring the Bolt Head and Tape Thickness for Clearance
Clean the Rifle: Thoroughly clean the rifle before starting the process.
Measure the Bolt Play: Using a dial indicator, measure the bolt play at the rear bridge.
Check the Bolt Head and Rear of the Bolt: Ensure there's enough space for the bolt to move freely and be removed after the epoxy cures. If the bolt is too tight, it could get stuck in the receiver.
Apply Tape to the Bottom of the Bolt: To create a small gap, or "play," apply tape to the bottom of the bolt under the rear bridge. This allows the bolt to cycle smoothly after the epoxy hardens.
How to Measure Bolt Play at the Rear Bridge
Remove the trigger from the receiver, along with the striker and spring from the bolt.
Secure the bolt in a vise and attach a dial indicator on a magnetic base.
Place the dial indicator on the rear of the bolt, set it to zero, and gently move the bolt up and down to check for bolt play.
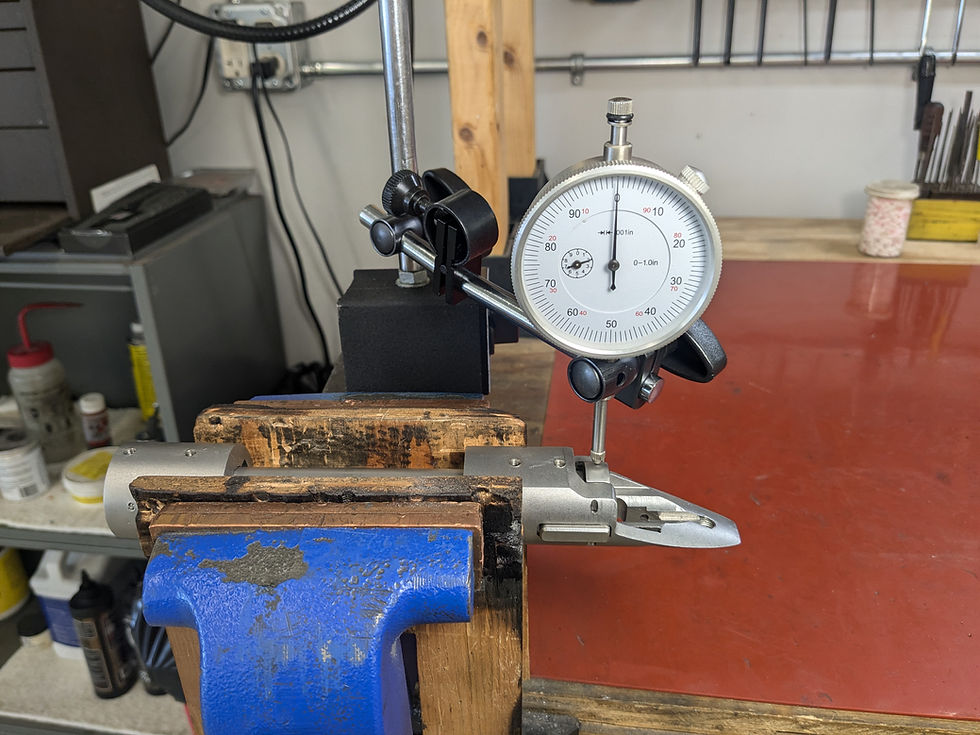
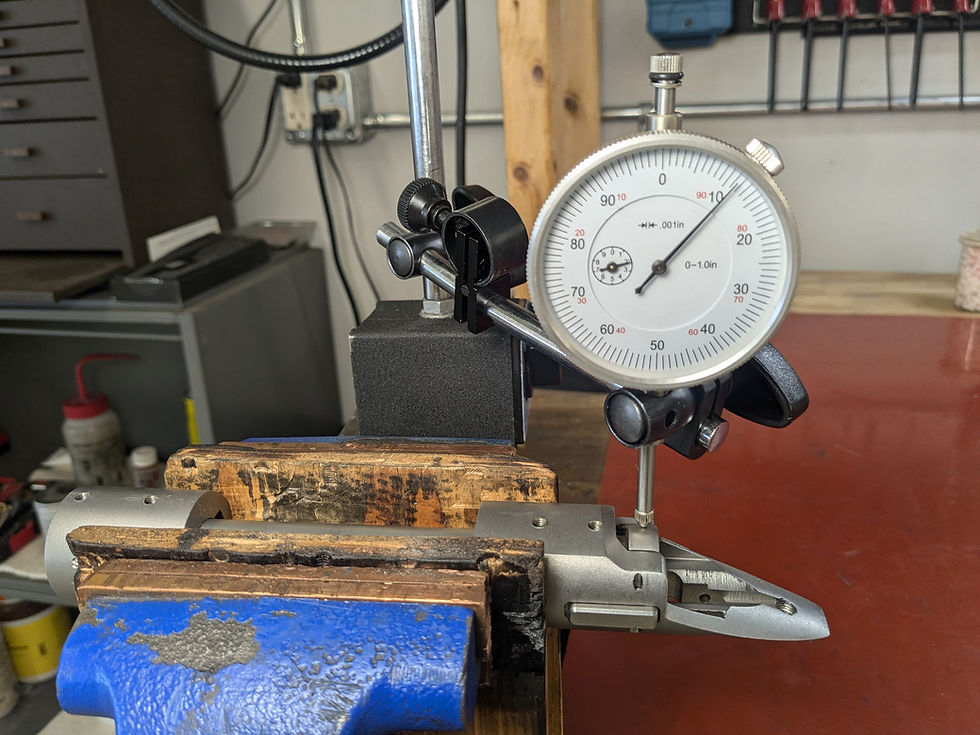
Example of Bolt Play at the Rear Bridge
Without tape, we measure about .0115" of play between the bolt and receiver.
Adding .002" of tape reduces the play to .0095". This is the thickness of the epoxy after it’s applied.
For hunting rifles, you typically want around .004" to .005" of play. Adjust the fit by adding or removing layers of tape until you get the right clearance.
Example of Bolt Measurements for Clearance
The rear of the bolt body measures .695", and the bolt head measures .692", giving you .003" of clearance (.695" – .692" = .003").
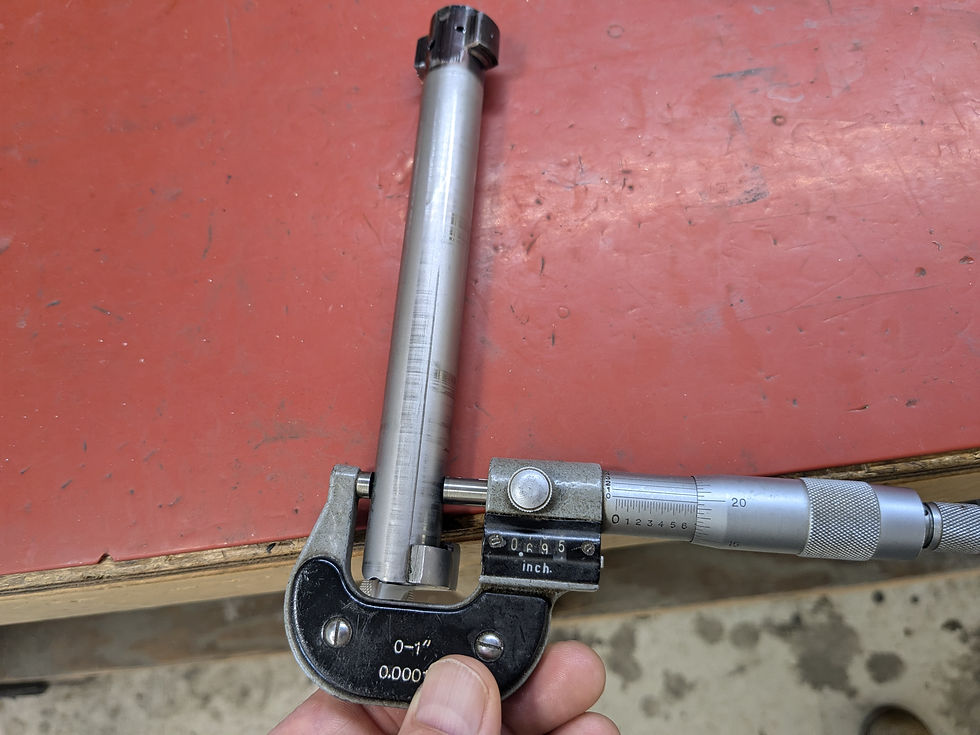
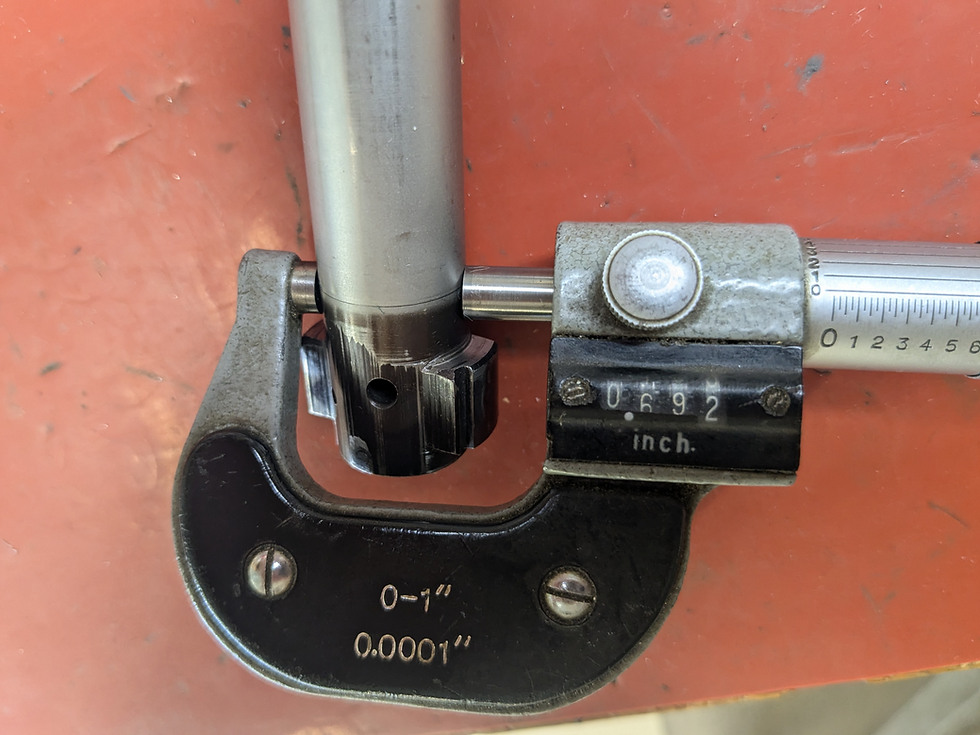
After adding tape to the rear of the bolt, the measurement increases to .697", providing .005" of clearance.

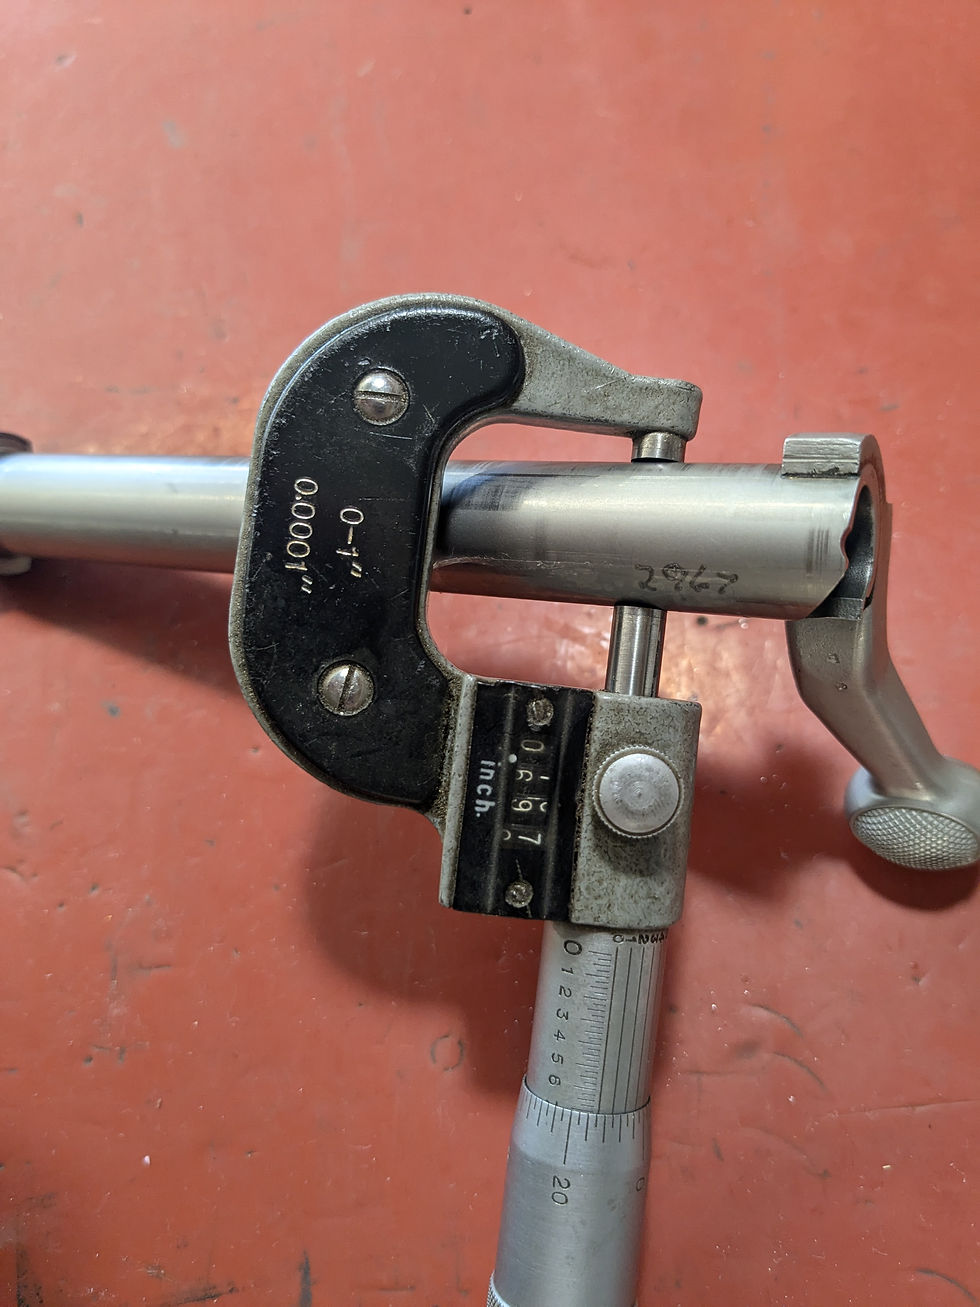
Note: If the bolt head is larger than the bolt body, add enough tape to ensure proper clearance for the bolt head to be removed from the receiver.
Step 2: Surface Preparation – Blasting the Rear Bridge
Once measurements are complete, roughen the inside of the receiver at the rear bridge using 150-grit aluminum oxide or 180-220 grit sandpaper. This ensures the epoxy bonds properly to the receiver. A smooth surface can prevent the epoxy from adhering securely.

Step 3: Degreasing for a Strong Bond
Degrease both the receiver and the bolt thoroughly to remove oil, dirt, or debris. This ensures a strong bond. Also, clean the scope screw threads and screws to prevent oil or thread locker from interfering with the epoxy bond.
Step 4: Applying Wax to the Bolt and Base Screws
Apply wax to the bolt to prevent the epoxy from sticking to it. The wax acts as a release agent, ensuring the epoxy bonds only with the receiver. Wax the screw threads to allow easy removal after the epoxy has dried.
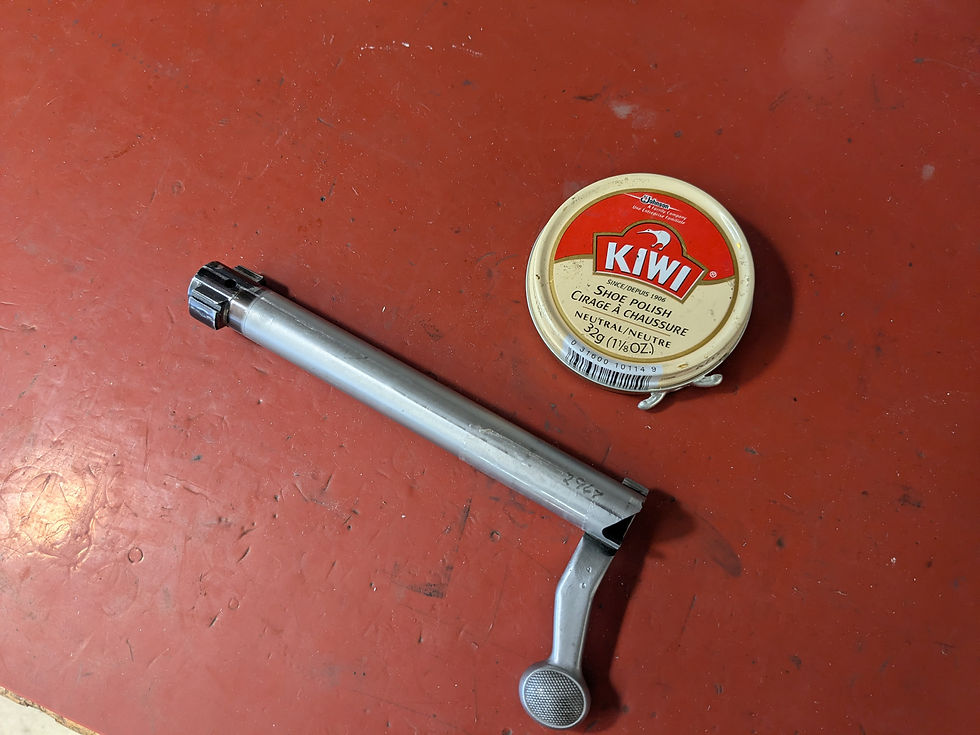
Step 5: Epoxy Application – Bolt in the Receiver
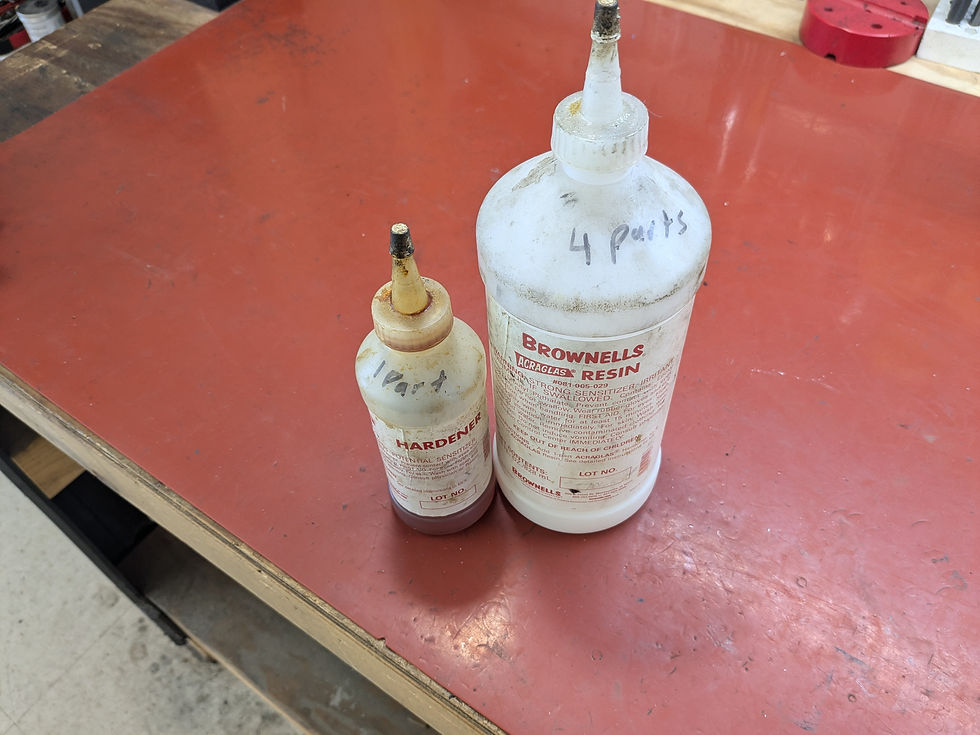
Insert the bolt into the receiver with the tape and wax applied.
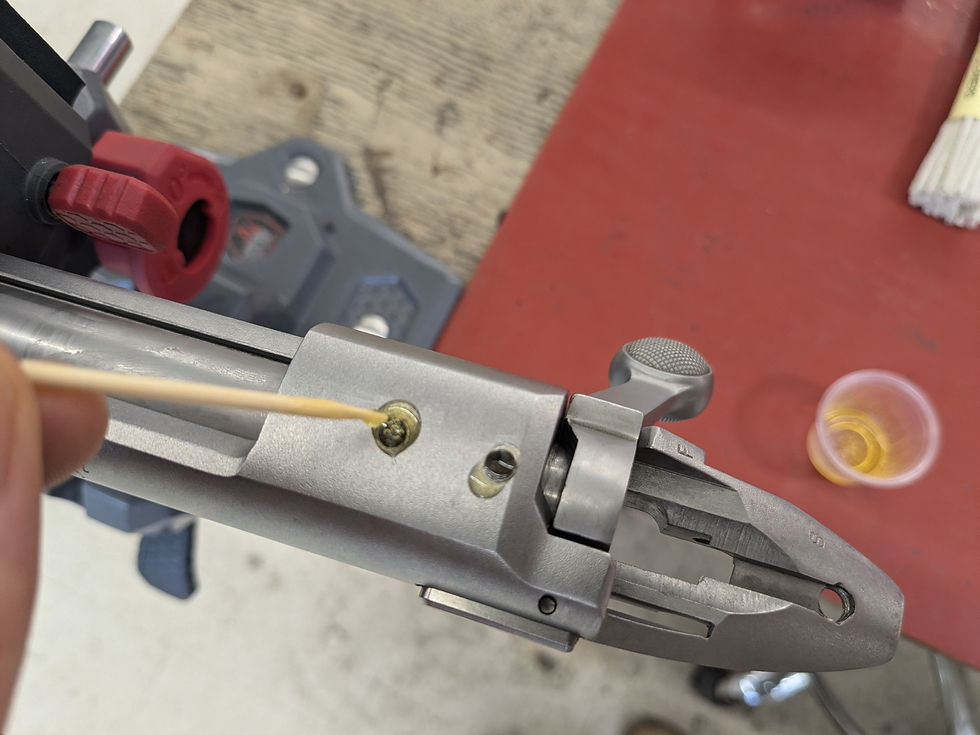
Apply the epoxy through the scope screw holes. Turn down the screws to press the epoxy between the receiver and bolt body.
Continue applying epoxy in the screw holes and turning the screws until epoxy leaks out of both the front and rear of the rear bridge.
Start with the front screw as it typically requires the most epoxy, and finish with the rear screw.

Step 6: Clean Up
Use cotton swabs and pipe cleaners to remove excess epoxy. Make sure to remove epoxy on the inside of the receiver.


Step 7: Curing and Final Removal
Allow the epoxy to fully cure with the bolt in place. Once cured, carefully remove the bolt. You may need to apply slight pressure to the bolt handle to break it free. If the bolt is stuck, use a nylon punch and hammer to gently tap it loose, avoiding damage to the bolt face or handle.
Once the bolt is removed, test it to ensure smooth cycling and proper fit. If the fit is too tight, light sanding on the epoxy can correct the issue.

Final Thoughts: Precision Matters
At Redleg Company, our epoxy sleeving process is designed to enhance both the fit and accuracy of bolt-action Remington 700 type rifles. By carefully measuring and preparing the surfaces, applying wax for proper release, and ensuring the epoxy flows into the correct areas, we create rifles that feel custom-made and deliver exceptional performance.
When you choose Redleg Company for your custom build, you can be confident that each step has been meticulously executed to deliver the best possible performance, whether it's for competition or in the field.

Comentários